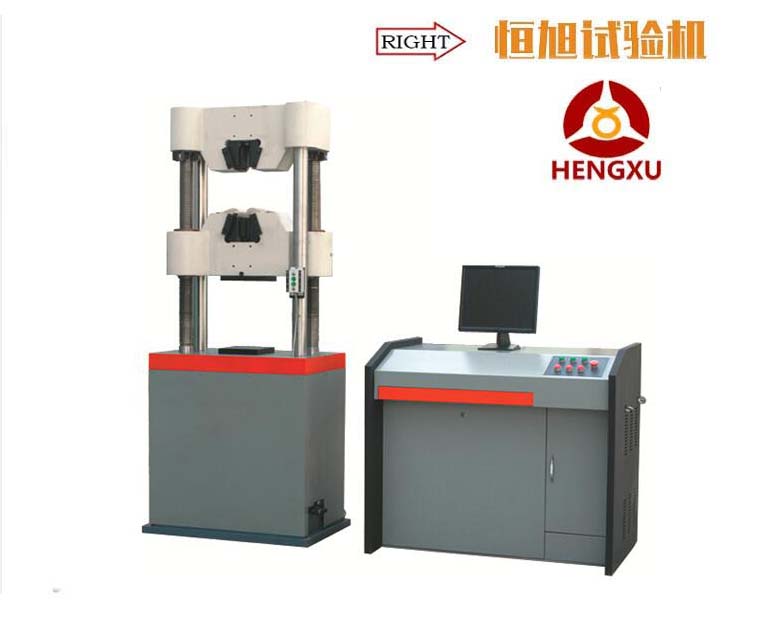
WAW-1000D microcomputer controlled electrohydraulic servo universal testing machine
Brief introduction:The main engine of the WAW-1000D microcomputer controlled electro-hydrauli
First, brief introduction
The main engine of the WAW-1000D microcomputer controlled electro-hydraulic servo universal testing machine adopts the main engine of the cylinder under the oil cylinder, which is mainly used for the tensile, compression and bending tests of metal and non-metal. It is suitable for metallurgy, construction, light industry, aviation, aerospace, materials, tertiary institutions, scientific research units and other fields. The test operation and data processing conform to the requirements of GB228-2002 "tensile test method for room temperature material metals".
Two. The description of the scheme
1. Host
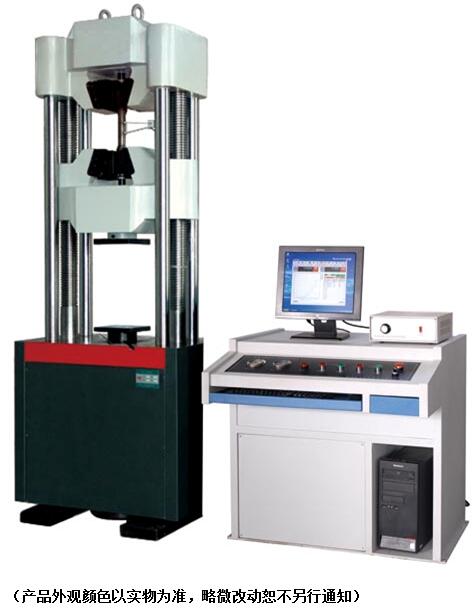
The main engine adopts the cylinder under the main engine, and the drawing space is above the main engine. The compression and bending test space is located between the lower beam and the worktable of the main engine. The whole machine is shown as shown in Figure 1.
2. Transmission system
The lower beam is driven by the motor through the reducer, chain transmission mechanism and screw pair to realize the adjustment of drawing and compression space.
3. Hydraulic system
The hydraulic oil in the fuel tank drives the high-pressure pump into the oil path through the motor, and flows through the one-way valve, the high pressure oil filter, the differential pressure valve group and the servo valve to enter the oil cylinder. The computer sends out the control signal to the servo valve, controls the opening and direction of the servo valve, so as to control the flow of the oil cylinder and realize the control of the constant speed of test, the constant speed displacement and so on.
4. Control system
A brief introduction of 4.1 functions
Support for stretching, compression, shearing, bending and other tests.
Support open editing test, editing standards and editing steps, and support import export test, standards and procedures;
Support the custom of test parameters;
Adopt open EXCEL report form to support user defined report format;
Query printing test results are flexible and convenient, support printing multiple samples, custom sort print items;
The program carries a powerful test analysis function.
Procedures support hierarchical management of two levels (administrators, test staff) user management rights;
4.2 software description
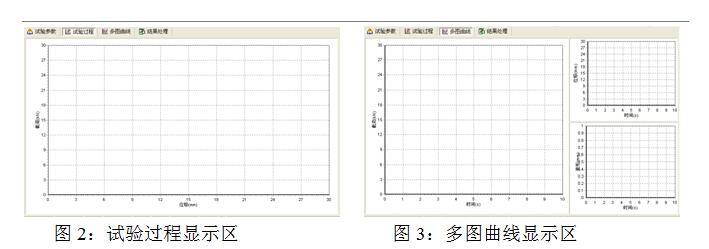
The main interface of the main interface is multi function. The main interface of the program includes: the system menu area, the toolbar area, the display panel, the speed display panel, the test parameter area, the test process area, the multi plot curve area, the result processing area and the test information area.
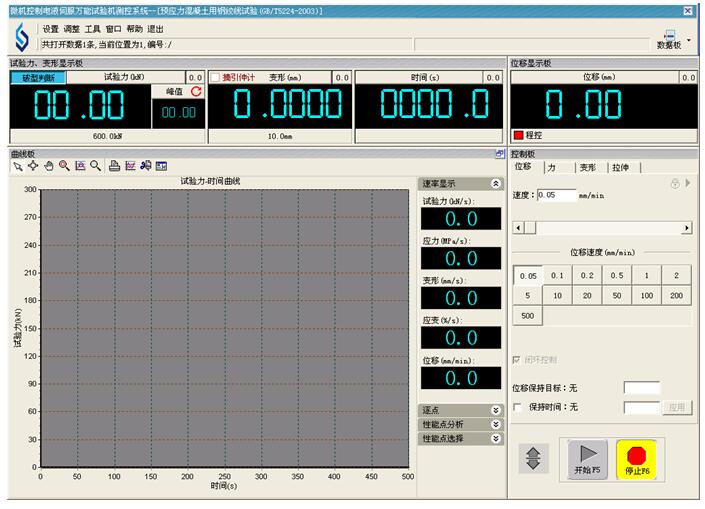
Curve drawing: software system provides abundant test curve display. For example, the force displacement curve, the force deformation curve, the stress displacement curve, the stress deformation curve, the force time curve, the deformation time curve.
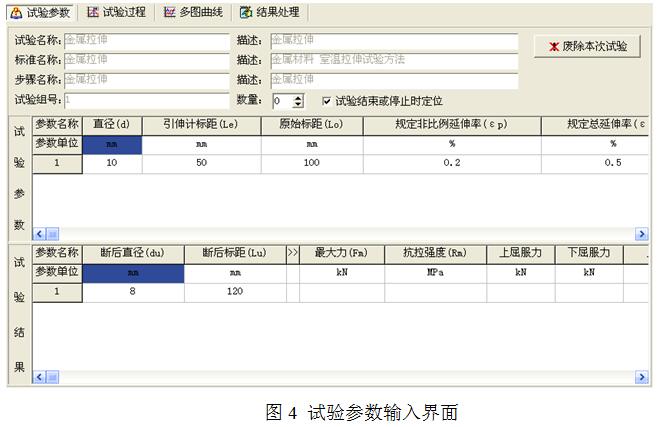
Test information input interface
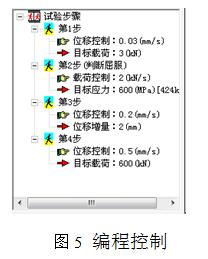
Test steps
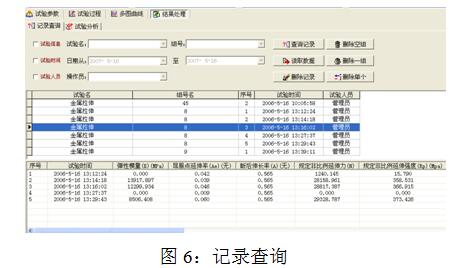
Test record query
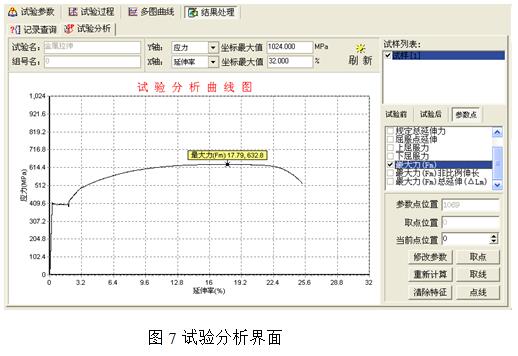
Data processing and analysis interface: we can automatically obtain ReH, ReL, Fm, Rp0.2, Rt0.5, Rm, E and other test results according to user requirements.
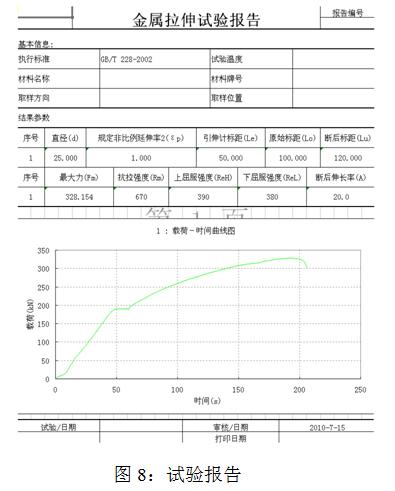
Test report interface: the software operating system provides powerful report processing functions, and customers can print out their own needs test reports according to their needs. The test data can be stored, printed and reanalyzed.
5. Safety protection device
A) when the test force exceeds 3% of the maximum test force, the overload protection and the oil pump motor stop.
B) when the piston reaches the upper limit position, the stroke protection and the oil pump motor stop.
6, attachments
The complete set includes attachments, compression attachments, curved attachments.
7. Other
Instructions for use, certificate of conformity and packing list are found in random technical documents.
Three. Main performance technical indicators
3.1 maximum test force kN1000
3.2 range of test force measurement range kN5 ~ 1000
3.3 the relative error of the relative error of the test force is less than 1%
3.4 test force resolution 0.01kN
3.5 displacement measurement resolution mm0.01
3.6 accuracy of deformation measurement mm0.01
3.7 maximum tensile test space mm750
3.8 maximum compression space mm380
3.9 piston stroke mm 150
The clamping diameter of 3.10 round specimens is mm diameter 13- = 40
The clamping thickness of 3.11 flat sample tongs mm0-15
Maximum clamping width of 3.12 flat specimens mm75
3.13 pressure plate size mm Phi 160mm
3.14 the maximum distance between two points in the 3.14 bending test
3.15 bending width mm140
3.16 bending and rolling diameter mm diameter 40
Maximum moving speed of 3.17 piston mm/min50
3.18 clamping mode automatically tighten
3.19 mainframe size mm900 x 710 x 2200
The shape of 3.20 force cabinet is mm1000 * 700 x 1400
Four. System configuration list
4.1 host oil cylinder underlay host 1 Units
4.2 pressure sensor in Guangzhou, 1
4.3 servocontrol use of oil source proprietary technology to produce 1 sets
4.4 electro-hydraulic servo valve digital servo valve 1
4.5 servocontrol system proprietary technology production 1 sets
4.6 exclusive technology production of electrical control system 1 sets
4.7 photoelectric encoder 1
4.8 computer associative brand computer 1
4.9 printer color inkjet printer 1
4.10 standard attachments
Round sample tensile jaw mm 13- 13- 26, 26- 26-
Flat specimen tensile jaw mm0-151 sleeve
Compression attached mm 1601 sets
Bending attachment mm test 4501 maximum distance between two pivot points
Five. Confidentiality of technical information and information
5.1 this technical scheme belongs to the technical information of our company. The user shall bear the obligation to confidentiality of the technical information and information provided by us. No matter whether this scheme is adopted or not, this clause is valid for a long time.
5.2 we shall also be responsible for confidentiality of technical information and information provided by users.


